Let me show you How To Create VPS with Hetzner for your project in 5 minutes of your time.
First of all, you need to create a Hetzner account#
I have a great deal for you. You can start without spending your money. Click on the below link to get €20 on your Cloud Account during the registration
-» CLICK HERE to use my referral link, and get €20 in cloud credits, so you can play around «-
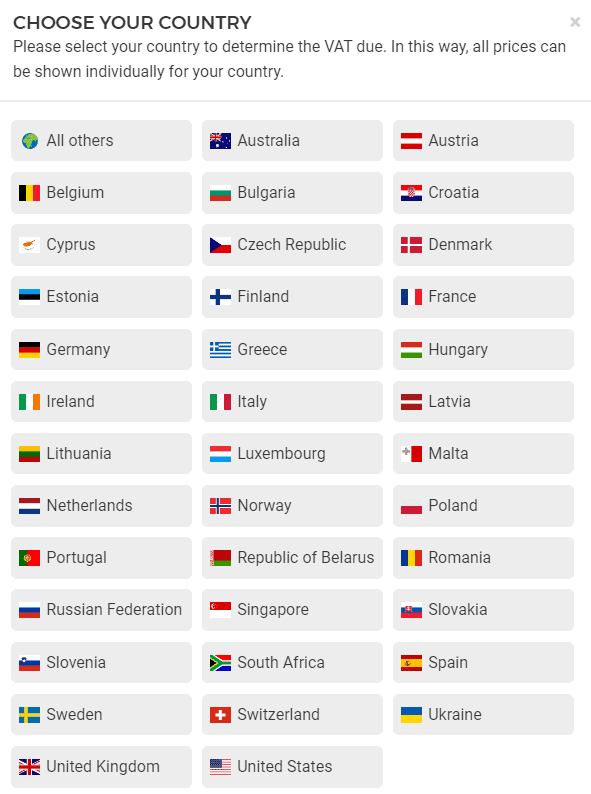
Great, now you can continue with the registration and buy your fist VPS, but before that check your country selection on top of the page and make sure you have a proper one selected.
Your country & VAT Selection#
(you can see the actual prices with your local VAT)
On the right side click on the hamburger icon to invoke the Hetzner website menu.
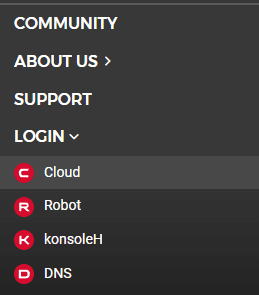
Expand the LOGIN drop-down and click Cloud
You will be redirected to the Hetzner Accounts portal where you will need to create a new account
New Account Registration#
Click REGISTER NOW below the login box
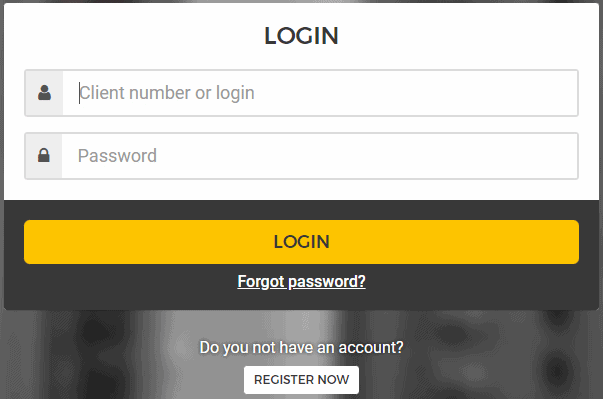
Complete your new account registration and login into the portal
Note: Do not forget to confirm your e-mail
Dashboard#
Great. Now you should see your personal Dashboard with your projects.
If you would like to have more than one project, you can create as many as you want.
Here is an example of two projects I do have in my account
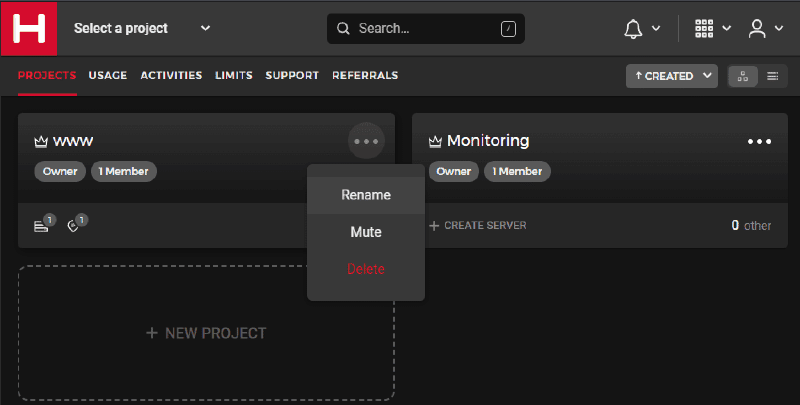
You can rename them at any time
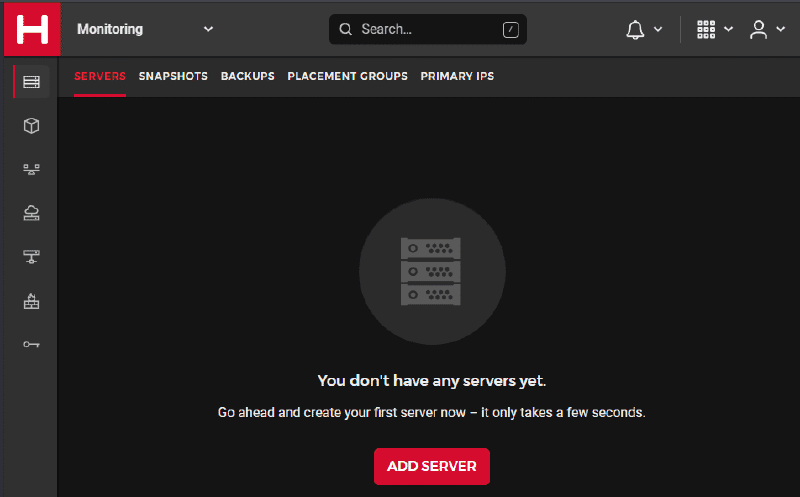
To add a new server, you need to click on your project first. Here is an example of my Monitoring Project opened
Now you need to click ADD SERVER button at the very bottom
Create a server#
The next step is to configure your own VPS server
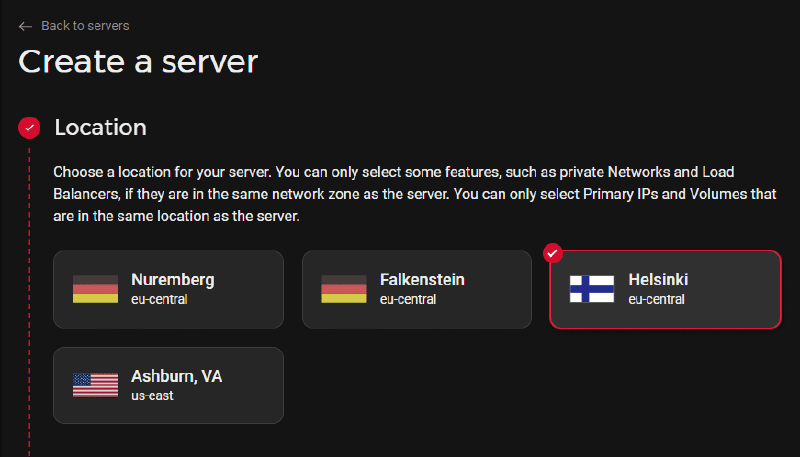
Datacenter#
The first selection is the Datacenter Location. Today Hetzner can offer four locations, two in Germany (Nuremberg and Falkenstein), one Datacenter in Helsinki, and another one in Ashburn
Choose the closest one to you or your targeted market (if you plan to provide services)
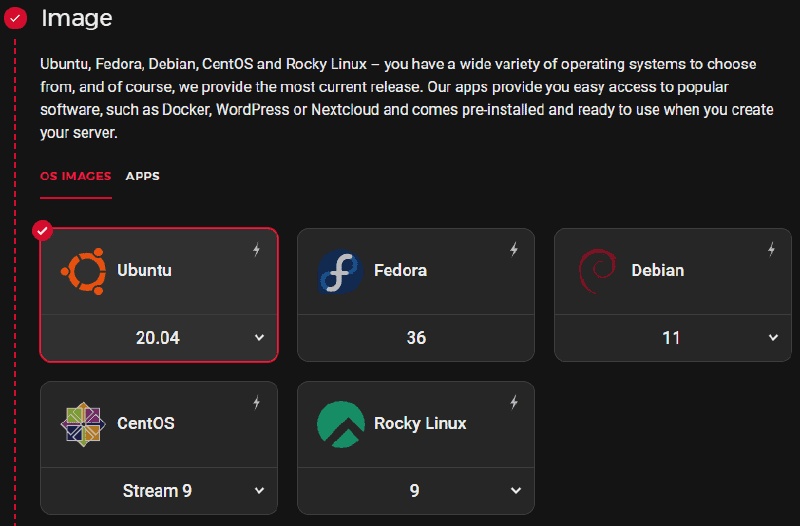
OS Images#
The Next step is to select an OS Image or APPS
You have a wide variety of operating systems to choose from. If you know what you need – just pick one. If you do not – I suggest you pick the one that is under the “Requirements list” for your service.
In my case I plan to install Docker Engine, so I need to check the Docker documentation -»HERE «-
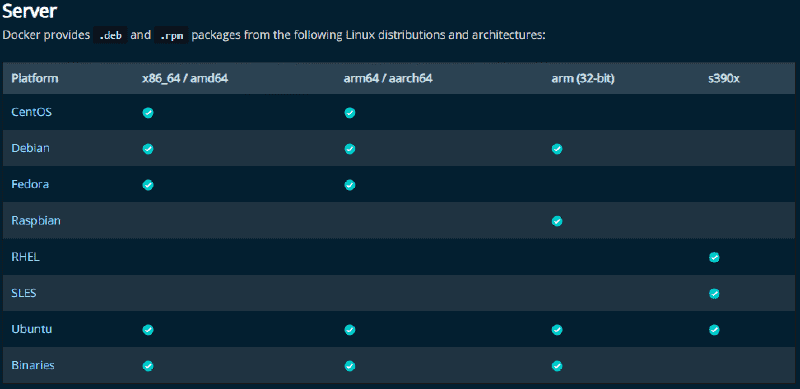
I will choose Ubuntu 20.04 (It scores all the ticks) 😀
My pick is usually Debian or Ubuntu. If you are a beginner Ubuntu is your choice because you can find more tutorials and help with the Ubuntu community. But in general, you should be able to do your things with all OS flavors.
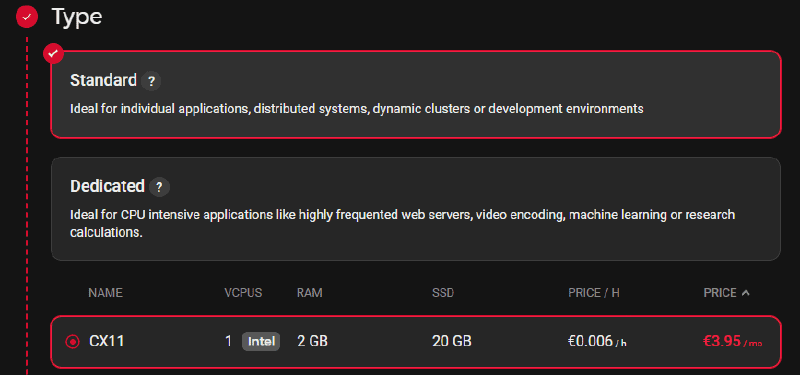
Server Type (Hardware, Traffic, Price)#
The next step is to choose the Type (Server Hardware)
For my Monitoring Project, the smallest options will work fine. So I pick CX11
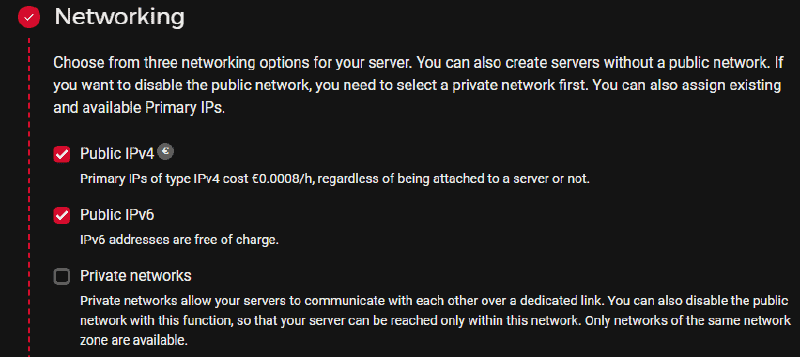
Networking (IPv4, IPv6, Private Networks)#
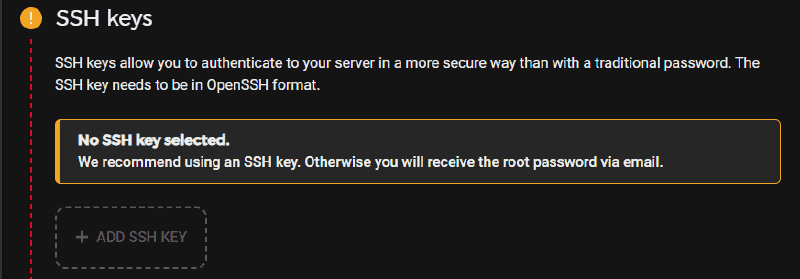
SSH Keys#
Now SSH keys section
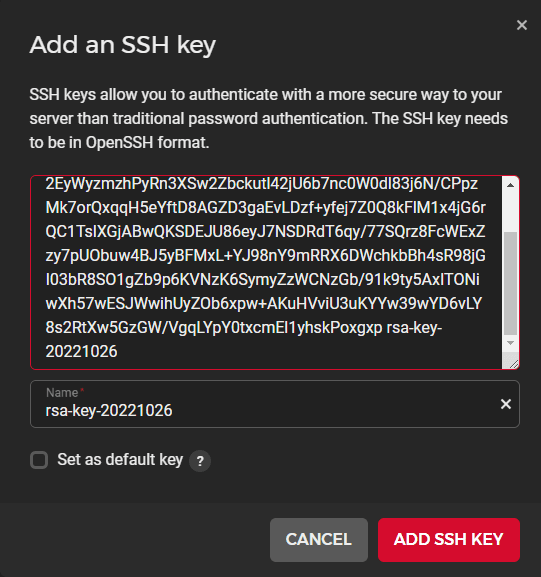
I strongly recommend you add your own SSH Keys to the server. Click on + ADD SSH KEY
If you do not know how to create your own keys you can check my guide by clicking » HERE «
Volumes, Firewalls#
Steps Volumes and Firewalls are ok to skip and move to Backups
Backups#
I suggest you select Backups, so you could restore your projects within minutes in case of any issues. It will cost you only 20% of the server price.
Placement groups & Cloud Config#
Pick your server name and hit CREATE & BUY NOW (Note that prices might change)

Congratulations!#
Your server should be ready within 5 minutes.#
Probably you came here from my post: How Do I Track My Services?
Click here to get back to this post and continue with Uptime Kuma